Wooden floors. Calculation of wooden floor beams
Despite the variety of materials used for the manufacture of floors in houses, wood remains the most popular for small residential buildings with two or three floors. This is due to their special properties:
- wooden floors are lightweight compared to their reinforced concrete counterparts and even more monolithic ones, and at the same time retain good performance;
- it is easy to process, therefore, installation work on the installation is carried out without the use of special equipment, which is impossible for other materials;
- the design feature of wooden floors allows the use of any insulating materials;
- finished wooden floors are the best basis for finishing the ceiling or floor;
- wood is still the most environmentally friendly and safe material.
The only drawback of its use can be considered a limitation in the permissible load, which reduces the scope of their application.
Types of floors in the house
Depending on the layout, the presence of the basement, the heating and the number of floors, the following hardwood floors can be used in the house:
- basement or basement;
- interfloor or attic;
- attic.
Each floor, depending on the type of room, the planned temperature and humidity level, performs its function. For this, during installation, the necessary insulation is laid, which prevents the passage of sound, moisture and heat and allows you to reliably separate the rooms in the house.
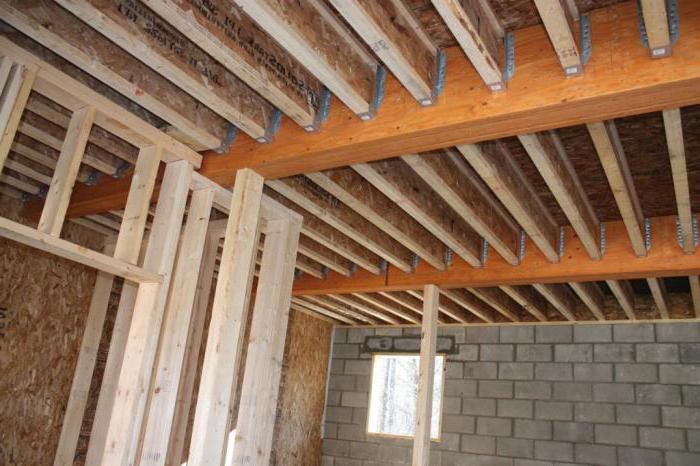
Overlap structure
The arrangement of wooden floors depends on their functional purpose, but they all have a very similar structure. Their main component, which serves as the basis for other elements, are wooden beams fixed to the supporting structures of the house, that is, to the walls. All future load during the operation of the house will fall on them. Therefore, the calculation of wooden floor beams takes an important place at the preparatory stage.
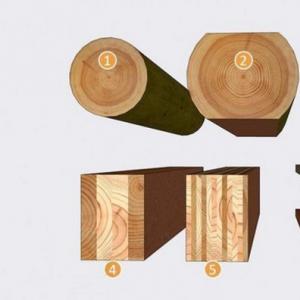
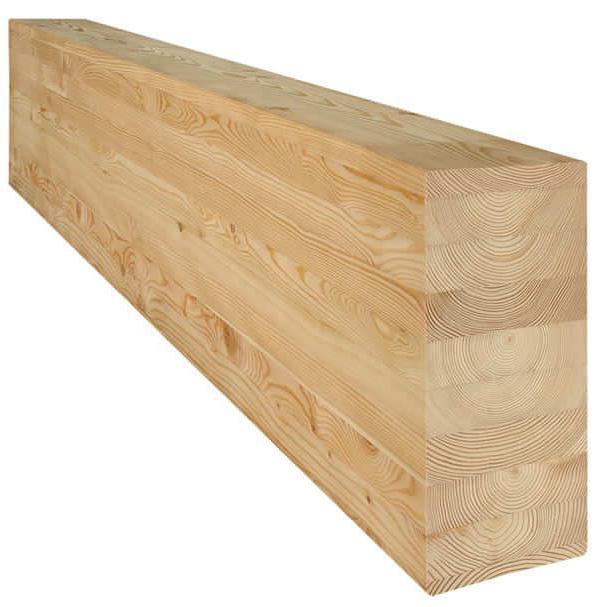
For the manufacture of beams, a wooden beam from coniferous trees is used, which almost does not bend over time, unlike deciduous ones.
A rough or auxiliary floor is fixed to the installed beams. For this, plywood, OSB or chipboard sheets are used, on top of which, after the completion of the work, the finishing coating, floor or ceiling, is attached. The space formed between the subfloor and the ceiling is filled with different insulators, depending on the parameters of the room.
Overlap options for different rooms
Depending on the type of room, wooden floors can have a different structure. There are three options in total:
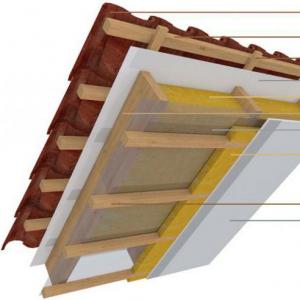
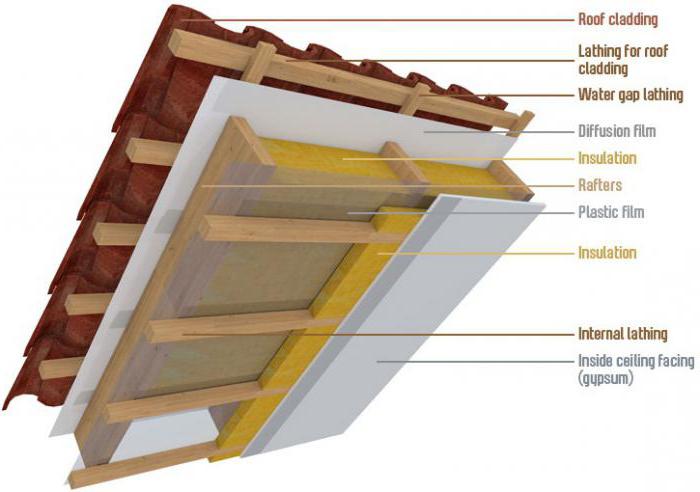
- for basement floors, where temperature differences and high humidity are characteristic, the use of vapor barrier, an increased layer of thermal insulation and a special reflective film or foil is required;
- for interfloor floors, which are characterized by a simpler structure, due to the uniform temperature regime and a stable level of humidity, sound insulation is imperative;
- for attic floors, if they are not heated, the same filling is used as for basement ones, with the difference that the arrangement of the insulators occurs in the reverse order due to the direction of the cold action.
More details about the structure of different floors will be written below.
Types of structures
Wooden floors in the house, depending on the size of the opening, can have a different design, which must withstand the given loads and provide for the placement of technological elements, including those giving rigidity, as well as various fastening accessories.
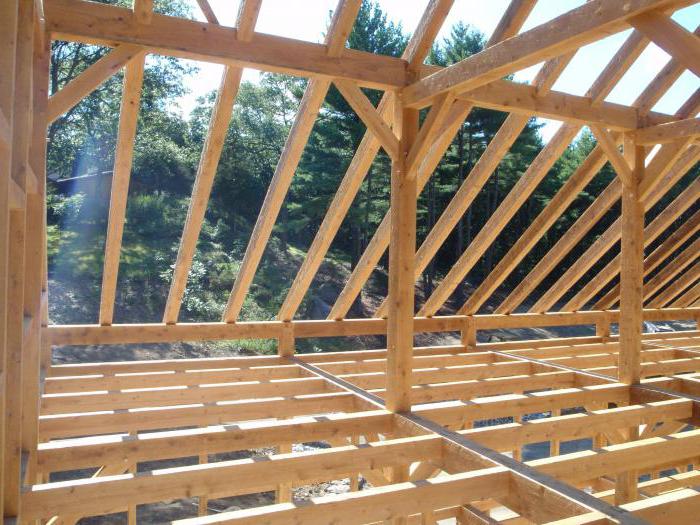
Today, hardwood floors are constructed using three main types of structures:
- with the help of beams, the oldest of all types, in which the reliability of the structure is ensured by beams from an array of square or rectangular shapes, laid in increments of 60 cm to 1.0 m;
- with the help of ribs, in which rigidity is created by a board up to 7 cm thick and at least 20 cm wide, laid on the edge with a step of no more than 60 cm;
- beam-ribbed, used for spans up to 15 m and consisting of beams and perpendicularly installed ribs fixed to them.
Below are the indicators for each type of structure.
Thus, the type of floor structure is determined for each opening individually.
Methods for attaching the beam to the wall
To create a reliable structure, all beams must be firmly anchored in the load-bearing walls. This can be done in several ways. Some have been used, like the wooden floors themselves, for several centuries, others have become possible relatively recently.
The first way is traditional . It is used for brick houses or built from timber. The beams are placed inside the wall in a specially made niche to a depth of 10 to 15 cm, following several rules:
- the recommended depth is 2/3 of the load-bearing wall thickness;
- the part of the beam in contact with the walls of the niche is closed with roofing material in two layers;
- the end parts are cut at an angle of approximately 60 ° to allow air to reach the tree;
- the distance between the beam and the niche walls is at least 5.5 cm;
- the beam lies on a wooden substrate treated with an antiseptic;
- empty space is sealed with insulation;
- the sides are covered with cement mortar;
- every fifth (as often as possible) beam is additionally fixed to the wall with an anchor.
If this method of fastening is used for wooden houses, the depth of the niche is no more than 7 cm with the obligatory installation of insulation between the wall and the beam. This reduces the likelihood of squeaking.
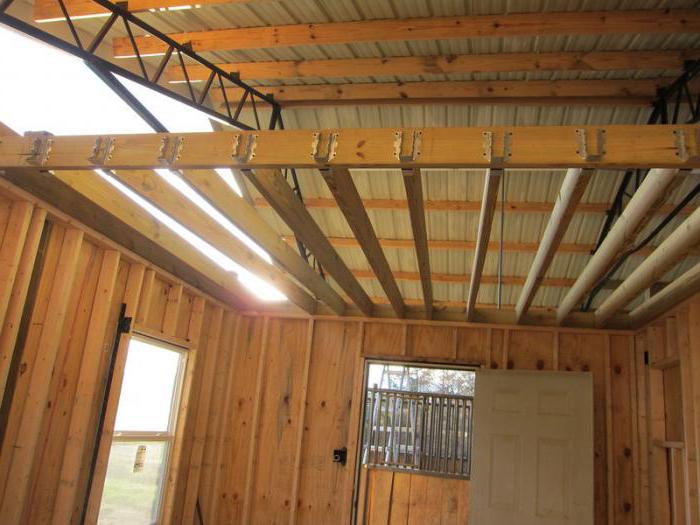
Second way consists in the use of special metal fasteners:
- corners;
- clamps;
- brackets.
The selected fasteners are fixed to the wall and to the beam using self-tapping screws or dowels. Sometimes a metal mount can be used to reinforce a structure.
This method makes it quicker and easier to install wooden beams. At the same time, the traditional version is still the most reliable.
Making calculations
Having decided on the type of structure, it is necessary to prepare the calculation of the wooden floor, primarily the required number of beams, taking into account the desired section and arrangement. Precisely made calculations will avoid unpleasant surprises during operation.
The length of the beam is calculated based on the dimensions of the opening and the selected method of fastening. For the traditional method, the total length includes the width of the opening and the length of the parts to fit into the niche. If fasteners are used, the length of the beam is equal to the width of the opening.
The spacing between beams, or spacing, is usually more than 60 cm and less than 1 m, but can be placed more often. The quantity is calculated by dividing the length of the opening by the selected step with the obligatory displacement of the extreme beams from the wall by at least 5 cm.
Calculation features
The cross-section of the beam depends on three parameters:
- opening width;
- distance between beams;
- planned load.
The average load is usually considered to be about 400 kg per square meter (its weight is about 200 kg and a permissible load of 200 kg). For non-residential premises, this value can be half as much.
The section is directly related to the width of the opening. The wider it is, the greater the value should be. Here, the rule of the ratio of the size of the opening and the height of the beam, equal to 1/25, is used. For example, for an opening with a width of 5 m, a beam with a height of 200 cm is needed. Most often, a section of 5-16 cm in width and 14-24 cm in length is rectangular in shape.
Today, you can calculate wooden floor beams using calculators that are freely available on the Internet or ready-made tables.
Aperture, m / step, m | |||||||
After completing the calculations, you can begin to install wooden floors.
Features of the installation of the basement floor
The installation of a basement floor can be done using any of the three described types of structures.
When installing on beams, an additional element is used - a cranial block - 50 x 50 cm in size. It is fixed from the bottom to the beam at one level, and the auxiliary covering is attached to it. Next, a layer of thermal insulation (polystyrene, expanded polystyrene, cotton wool) with a thickness of at least 10 cm is laid, which is covered with a vapor barrier, preferably in rolls.
With a distance between the beams of more than 60 cm, logs are first installed, to which the second rough coating (plywood, OSB or chipboard) is attached. A top flooring can be laid.
Skull bars are not used for rib placement. A draft ceiling (plywood or OSB) is sewn directly to the ribs in increments of no more than 15 cm. The thermal insulation fits tightly between the ribs. Next, the vapor barrier and the subfloor are laid.
Installation of a girder-ribbed ceiling is carried out in the same way.
Features of the installation of interfloor overlap
When installing a wooden floor between floors, the main task is to provide good sound insulation. The same temperature regime and the absence of moisture make it possible not to use a vapor barrier. In other words, if the budget is tightly limited, you can deviate from some of the mandatory rules.
When installing the overlap of the second floor on beams, as a rule, logs are always additionally applied, to which a subfloor made of plywood or chipboard is attached. In addition, the use of a cranial bar is recommended.
Wood flooring between floors differs from all others by using a rubber or cork backing up to 5 mm thick, placed twice:
- between beams and lags;
- between the sub floor and the topcoat.
The lathing is not used for the installation of the ceiling on the ribs. Another feature is the execution of the lathing for the ceiling of the first floor made of wood, since the metal profile can emit noise during operation.
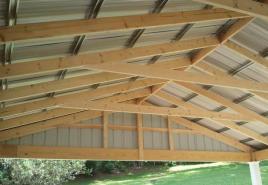
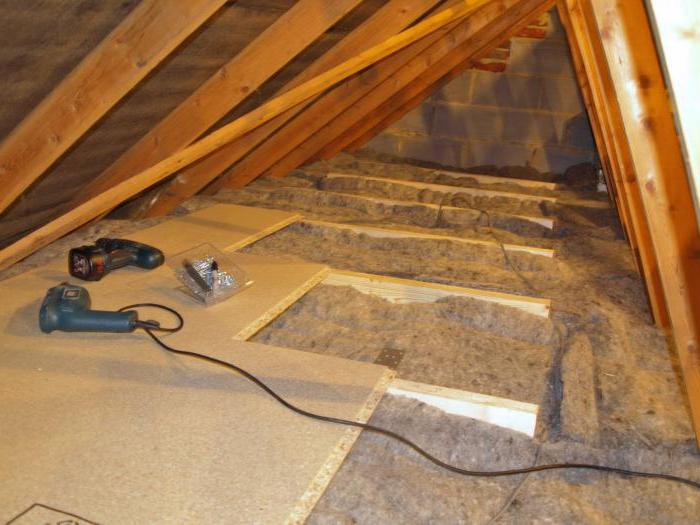
Features of the installation of the attic floor
As mentioned earlier, a wooden attic floor is very similar to a basement one. The difference lies in the movement of cold air, which moves from top to bottom in the attic, and vice versa in the basement.
This is why one serious mistake is most often made. Instead of placing a vapor barrier under the insulation, it is placed on top, as in the basement.
For added safety, waterproofing rolls can be placed on the thermal insulation to prevent moisture from entering directly through the roof.
Operation and prevention
Correctly selected, well-processed and well-laid beams can last a long time. But this does not exclude the need for periodic preventive maintenance and testing. If there is a suspicion of damage to any structural element, it is recommended that it be replaced or reinforced in a timely manner.